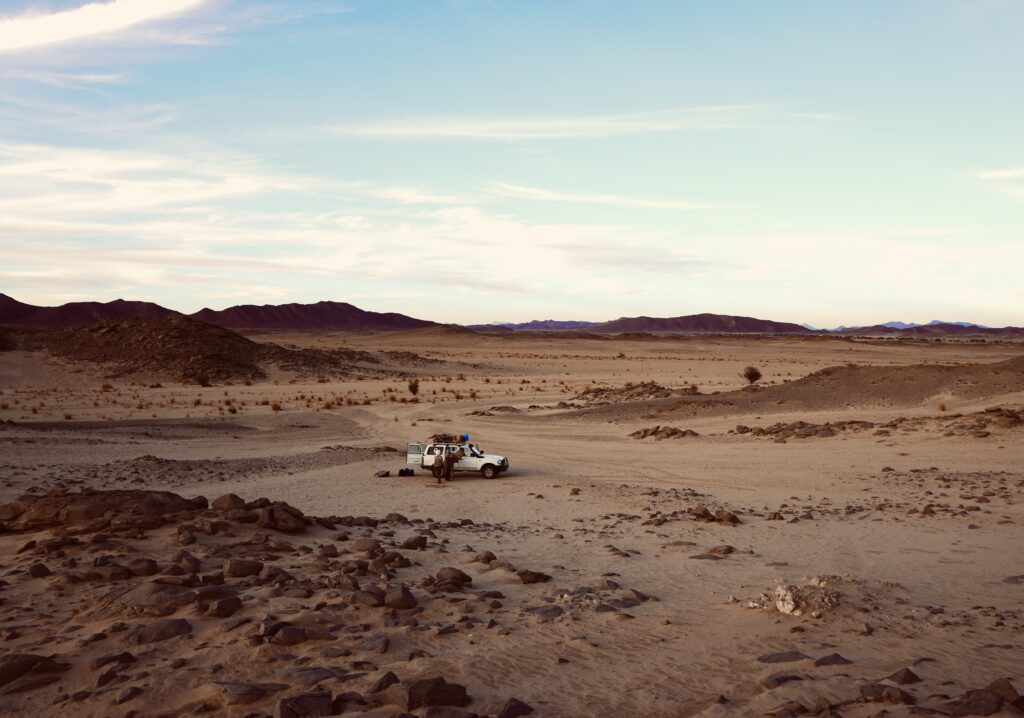
Imagine you’re out in the wild, surrounded by nature’s grandeur, but suddenly you realize you’re running out of clean drinking water. Panic sets in, but fear not! In this article, we’ll guide you on how to make a DIY water filter using readily available materials in the wild. By the time you finish reading, you’ll be equipped with the knowledge to quench your thirst with filtered water whenever you find yourself in the great outdoors. So, grab your backpack and get ready to embark on a water filtration adventure!
Materials and Tools
To create a DIY water filter in the wild, you will need a few essential materials and tools. Here is a list of what you will need:
Container
Firstly, you will need a suitable container to hold and filter the water. This can be any watertight vessel such as a plastic bucket or a large jug. Make sure it is clean and free of any contaminants.
Filtering Materials
You will need various filtering materials to remove impurities from the water. These materials include a fine mesh or cloth, charcoal, gravel or small rocks, and sand. Each of these layers will help in the filtration process.
Scissors or Knife
Having a pair of scissors or a knife will be handy to cut and manipulate the filtering materials as needed. Make sure to use these tools safely and with caution.
Rubber bands
Rubber bands will be used to secure the filtering materials in place. They will help keep each layer intact and prevent water from bypassing the filtration system.
Clean Cloth or Coffee Filter
A clean cloth or coffee filter will act as a barrier to catch larger particles and debris. It is crucial to choose a clean and non-toxic material that will not contaminate the filtered water.
Clean Water Source
Lastly, you will need a clean water source. This can be a nearby stream, river, or any other natural water source. Ensure that the water is as clean as possible and free from pollutants before filtering it.
Preparation
Before constructing the DIY water filter, it is essential to prepare and gather all the necessary materials. Here are the steps to follow:
Select a Suitable Container
Choose a container that is large enough to hold a sufficient amount of water. Consider the amount of water you will need and the space available in your wilderness setup. Ensure that the container is clean and free of any contaminants that could affect the quality of your filtered water.
Gather Filtering Materials
Collect all the required filtering materials, including the fine mesh or cloth, charcoal, gravel or small rocks, and sand. You can find these materials in the wilderness or bring them with you before embarking on your outdoor adventure. Make sure they are clean and free from any substances that could harm the water quality.
Prepare Charcoal
Prepare the charcoal by making sure it is clean and free from any chemicals or substances that could contaminate the water. You can create charcoal by burning wood until it turns into charcoal. Once cooled, crush the charcoal into small pieces or grind it into a powder. This will help increase its filtering efficiency.
Collect Gravel or Small Rocks
Collect small rocks or gravel that are clean and free from any dirt or contaminants. These will serve as the second layer of filtration, helping to remove larger impurities from the water.

Obtain Sand
Ideally, use clean sand for this step. Collect sand from a clean source, making sure it is free from any pollutants or contaminants. Sand acts as the third layer of filtration and helps to remove finer particles from the water.
Constructing the Filter
Now that you have prepared all the necessary materials, it is time to construct the DIY water filter. Follow these steps:
Create a Hole in the Container
Using a knife or scissors, create a small hole near the bottom of the container. This hole will serve as the outlet for the filtered water. Ensure the hole is the right size to allow a steady flow of water without causing any leaks.
Layering the Filtering Materials
Start by placing a clean cloth or coffee filter over the hole in the container. This layer will catch larger particles and debris, preventing them from entering the filtered water.
Place Cloth or Coffee Filter
On top of the cloth or coffee filter, add a layer of fine mesh or cloth. This layer will assist in filtering out smaller impurities and sediment from the water.
Add Sand
Next, add a layer of clean sand on top of the fine mesh or cloth. The sand will help in filtering out finer particles and acting as a barrier against sediment.
Add Gravel or Small Rocks
Place a layer of small rocks or gravel on top of the sand. This layer will further filter out larger impurities and prevent them from passing through.
Insert Charcoal
Finally, insert the prepared charcoal into the container, forming the top layer of the filter. The charcoal will effectively remove chemicals, odors, and other harmful substances from the water.
Filtering Process
The DIY water filter is now ready for use. Here’s how to filter water using the constructed filter:
Find a Clean Water Source
Locate a clean water source such as a stream or river. Ensure that the water appears free from visible dirt, debris, or pollution. Remember, the cleaner the water source, the more effective the filtration process will be.
Position the Filter
Place the filter on a stable surface near the water source. Make sure the container is secured and won’t topple over during the filtration process. This will prevent any potential contamination from falling into the filtered water.
Pour Water into the Filter
Slowly pour the water you wish to filter into the container. Allow the water to flow through the filtering materials and out of the hole at the bottom. Be patient and ensure a steady flow of water without causing any overflow or leakage.
Wait for the Water to Filter Through
Allow the water to filter through the layers of materials in the container. The filtration process might take some time, depending on the amount of water and the efficiency of your filter. Be patient and avoid disturbing the filter during this stage.
Collect and Store Filtered Water
Once the water has filtered through, collect it in clean and sterile containers. Use a separate container to avoid cross-contamination with any leftover unfiltered water. Store the filtered water in a safe place to prevent any potential recontamination.
Maintenance and Cleaning
Maintaining and cleaning your DIY water filter is essential to ensure its effectiveness and longevity. Follow these guidelines:
Empty and Rinse the Filter Regularly
After each use, empty the filter and rinse it thoroughly with clean water. This will remove any trapped debris, contaminants, or residue remaining in the filter. Regular cleaning will help maintain the filter’s performance and prevent any potential clogs.
Replace or Refresh Filtering Materials
Over time, the filtering materials will degrade and lose their effectiveness. Periodically check your filter and replace any worn-out materials such as the cloth, charcoal, gravel, or sand. This will ensure the continued efficiency of your DIY water filter.
Considerations and Tips
To maximize the efficiency and safety of your DIY water filter, consider these helpful tips:
Avoid Contaminated Water Sources
Whenever possible, avoid using water sources that appear contaminated or polluted. The filtering process can only do so much, and heavily polluted water may still pose health risks even after filtration. Always prioritize your safety and seek clean water sources whenever available.
Boiling the Filtered Water
Though the DIY water filter helps remove impurities, it may not eliminate all harmful microorganisms. To further purify the filtered water, consider boiling it before consumption. Boiling water kills many types of bacteria, viruses, and parasites, ensuring its safety for drinking and cooking.
Additional Purification Methods
If you have access to additional purification methods such as water-purifying tablets or UV light sterilizers, utilize them alongside the DIY water filter. These additional measures can provide an extra layer of protection and ensure the highest quality of filtered water.
Pack Extra Filtering Materials
Just in case your DIY water filter experiences any damage or becomes ineffective, it is wise to pack extra filtering materials. This will allow you to quickly repair or replace any components and maintain your access to clean drinking water in the wilderness.
Test the Filtered Water if Possible
If you have access to water testing kits, consider testing the filtered water for any remaining impurities or contaminants. This will provide additional confidence in the effectiveness of your DIY water filter and allow you to make any necessary adjustments or improvements.
Filtering with Nature
In addition to the DIY water filter using man-made materials, there are also natural alternatives available in the wild. Here are a couple of nature-based filtering methods:
Using Green Leaves
Certain types of broad, non-toxic, and non-aromatic green leaves can be used as makeshift filters. By layering these leaves in a container and pouring water through them, you can enhance the filtration process. However, this method is less reliable than the DIY water filter using man-made materials and should be used cautiously.
Using Tree Branches and Trunk
In some cases, tree branches and trunks can act as natural filters. By cutting a branch lengthwise and scraping out the inner bark to create a trough, you can pour water in and let it slowly filter through the woody material. This method is best used in emergencies and should not substitute a well-constructed DIY water filter.
Alternative Filter Designs
While the DIY water filter outlined above is effective, there are alternative designs you can explore. Here are a couple of examples:
Bamboo Water Filter
A bamboo water filter involves cutting a section of bamboo and creating segmented chambers using dividers made of smaller bamboo sections or other materials. Each chamber can be filled with different filtering materials, allowing for a more complex filtration process.
Soda Bottle Filter
Using an empty plastic soda bottle, you can create a smaller-scale filter by cutting it in half and layering the filtering materials inside. This design is portable and convenient for single-serving filtration needs.
Rock and Sand Filter
Similar to the DIY water filter, a rock and sand filter involves layering various sizes of rocks and sand inside a container. This simple design can be effective for quick filtration but may not be as efficient as the DIY water filter using finer materials.
Potential Risks and Precautions
While a DIY water filter can help remove impurities and make water safer to consume, there are a few risks and precautions to keep in mind:
Parasites and Microorganisms
Although a DIY water filter can remove larger microorganisms, it may not eliminate all parasites and microscopic pathogens. Using additional purification methods, such as boiling the filtered water, is essential to ensure complete safety.
High Turbidity or Chemical Contaminants
In cases of high turbidity or chemical contamination, a DIY water filter may not be sufficient to produce safe drinking water. These situations often require advanced water treatment methods or the use of commercial water filters.
Inadequate Filtering Effectiveness
The effectiveness of a DIY water filter can vary depending on various factors, including the quality of the filtering materials, the design of the filter, and the condition of the water being filtered. Regular maintenance, testing, and precautionary measures are necessary to ensure optimal filtration results.
Conclusion
In conclusion, knowing how to make a DIY water filter in the wild can be a valuable skill for outdoor enthusiasts and survivalists. By understanding the materials and tools needed, the construction process, and the filtering steps involved, you can have access to clean drinking water even in a remote wilderness setting. Remember to prioritize your safety, maintain and clean your filter regularly, and consider additional purification methods to ensure the highest quality of filtered water. With proper knowledge and preparation, you can confidently enjoy the benefits of clean and safe drinking water while exploring the great outdoors.


